

Felt Ghost Garland Tutorial
It's officially spooky season and we are more than excited for all of the crafting that comes with it! Follow along to make a super simple and oh so Boo-tiful ghost garland with us!
Materials
- Needle and Thread
- Ribbon
- Scissors
- Our FREE SVG

Let's Get Started!
Step 1
Now that you have all of your materials, grab your thread and cut a piece however long you want your garland to be. Make it long enough to go across your entire fireplace mantle or just a small one to make a cute picture frame wall hanging!

Step 2
Now, take your ribbon and cut 8, 15" pieces, 2 of each color! These will be used at the ends of the garland.

Step 3
Take the pieces of ribbon and tie them close to one end of your string to make a cute tassel.

Now, take your needle and thread through your first felt ball.

You can make your felt ball pattern repeat as long as you want! We are loving this three color pattern of Magenta, Lavender, & Ginger!
Step 4
Now, you can get your FREE SVG here to cut out your ghost!

Using your Cricut or cutting machine, cut your ghosts out of white glitter felt and the eyes out of black glitter heat transfer vinyl. Then place the eyes onto the ghost and heat press them them on for 30 seconds!
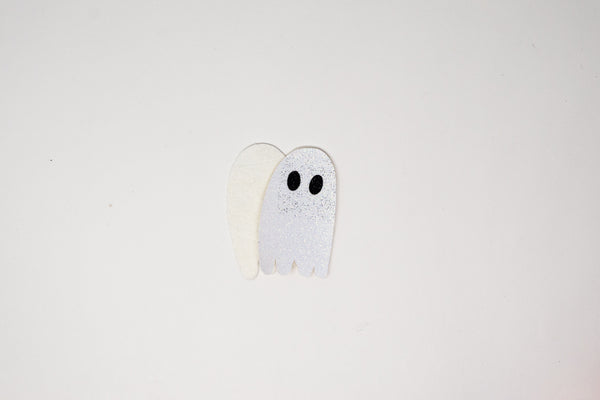
Now, you can use hot glue to secure the front and back of the ghost to your string.

Step 5
Repeat this until you get your garland to your preferred length! And add another tassel on the other side. And then you're done!


We hope you loved this fun DIY! If you followed along, we would love to see it!
Tag us!
@overtheriverfelt